
- SDK issuance — the user is present. Your frontend calls
air.issueCredential; AIR calls your backend’savailable-vcandissue-vcendpoints. - Direct issuance — no user interaction with AIR. Your backend resolves the holder by email and issues the credential itself.
Credential formatNew issuance programs use the
SD_JWT_VC signature type. SD-JWT issuance is self-serve in sandbox and production. Iden3 (BJJ_SIG_2021) credentials are an advanced option that the AIR team enables; see Credential formats and Iden3 credentials.Dashboard setup
Credential services are gated. When you first sign up, the Issuer and Verifier menus (schemas, programs, and DID settings) stay hidden until your Issuer DID is registered. Sandbox and production use separate Dashboards, and both are self-serve for SD-JWT issuers:- Sandbox: developers.sandbox.air3.com
- Production: developers.air3.com
- Deploy the SD-JWT branch of the AIR issuer service at a stable public HTTPS origin. Your Issuer DID is
did:web:<host of ISSUER_ORIGIN>; the service publishes it at/.well-known/did.json. See Issuer backend hosting. - Open Issuer → Settings and register the issuer:
- Issuer DID (
did:web:…) and the issuer API key - Supported signature type:
SD_JWT_VC - JWKS URL for your partner keys
availableVcApiUrl,issueVcApiUrl, andrevocationStatusApiUrl, pointing atPOST /available-vc,POST /issue-vc, andGET /revocation-status/:nonceon your backend
- Issuer DID (
- Select or create a schema, then create an issuance program.
Important: Sandbox and production are separate environments. Configuration created in sandbox does not carry over. Register the issuer, schemas, and programs again in the production Dashboard.To issue Iden3 credentials, contact the AIR team; see Iden3 credentials.
Technical integration
The first two rows are AIR API endpoints. Every row marked issuer-hosted runs on your issuer service at
ISSUER_ORIGIN.
See Issuance API Reference for request and response details.
Configure the backend
Set up your issuer backend / environment with:- A stable public
ISSUER_ORIGIN(it defines yourdid:webIssuer DID) and partner signing keys - Schema and program configuration
- API keys / partner auth
- DStorage endpoint configuration
- Issuer data source connection
- A generated private API key (
API_KEY) that protects your issuer-hosted endpoints via thex-api-keyheader - A separate admin API key (
ADMIN_API_KEY) for the/admin/*routes your own servers call
Expose available-vc
Your backend exposes POST /available-vc and accepts the holder identity:
- Retrieves the user’s eligible credential data from your data source.
- Returns
{ data: [...] }, with each credential subject encrypted to the holder’spubKey. - Accepts optional
schemaIdandproofTypefilters.
Expose issue-vc
Your backend exposes POST /issue-vc with the same holderDID, pubKey, and userId, plus the required schemaId, optional proofType, and the holder’s signingKey:
- Retrieves the final user data.
- Builds the SD-JWT VC and signs it with issuer-controlled keys. When AIR sends
signingKey.jwk, it becomes the credential’scnfclaim, binding the credential to the holder. - Encrypts the VC to the user’s public key.
- Stores the encrypted VC via DStorage.
- Returns an empty response body after successful issuance. The issuer backend stores the DStorage response in its issuance record.
x-api-key: <issuerBackendApiKey>. Use userId—not holderDID alone—to retrieve partner-owned eligibility and claim data.
SDK issuance
Use this path when the user is present in your app and should confirm issuance through AIR Kit.- Your frontend calls
air.issueCredentialwith the Partner JWT, issuer DID, and program ID, passing{}ascredentialSubject. - AIR logs the user in if needed and calls your backend’s
POST /available-vc. Your backend returns encrypted previews of the credentials the holder can claim. - The holder reviews the preview and confirms.
- AIR calls your backend’s
POST /issue-vc. Your backend builds, signs, encrypts, and stores the credential, and stays authoritative over the claims.
Waiting for issuance to complete
By default,issueCredential resolves once the credential has been issued and stored, without waiting for its on-chain record (hashes and status metadata, not the credential itself) to be confirmed. Pass waitForOnchainCompletion: true when your next step depends on that record already being confirmed:
Use
true when you verify right after issuing, or when you show the user a confirmed state. Keep the default when issuance is a background step and the user does not wait on it — confirmation adds latency proportional to block time.
waitForOnchainCompletion replaced the earlier offchain parameter. Whether a program writes on-chain at all is configured on the program in the Developer Dashboard, not on the call.Direct issuance
Use this path when a backend event should issue a credential with no user interaction with AIR — the end user does not need to be in a session, open a wallet, or interact with any UI. Your backend does the full issuance job. Typical triggers:- Issuing a KYC credential the moment a user passes identity verification
- Issuing an attendance credential when a venue scan detects a fan’s check-in
- Issuing a subscriber tier credential at the end of each billing cycle
- Issuing a loyalty credential triggered by a purchase event
How it works
The SD-JWT issuer service exposesPOST /admin/issue-vc for this path. It runs on your issuer service, not on the AIR API, and only your own servers should call it.
- A backend event fires — KYC passed, purchase confirmed, check-in scanned — or your batch job begins.
- Your server calls
POST {ISSUER_ORIGIN}/admin/issue-vcwith thex-admin-api-keyheader. - The issuer service calls AIR
POST /auth/initialize-userwith the recipient’s email to resolve or create their AIR Account, receiving the holder DID and public key. - It signs the SD-JWT VC, encrypts it to the holder’s public key, and stores it through
POST /dstorage/vcs. - The user presents the credential later to any AIR verifier; no action needed at issuance time.
userIdmust be the email AIR knows the user by.expirationis an ISO 8601 date in the future.credentialSubjectmust not contain reserved claims:cnf,exp,iat,id,iss,nonce,status,sub,vct,vct#integrity.disclosureFrameis optional. By default every top-level claim is selectively disclosable.- No registered schema class is needed.
Directly issued credentials carry no
cnf holder key, because the holder is not present to provide one. Their presentations cannot include a key-binding JWT, so verifiers receive bearer presentations. Use SDK issuance when you need holder binding. See Verify SD-JWT on your backend.GET /admin/issuance-history and revoked the same way as claimed credentials.
Prerequisites
- Credential services enabled — Register your
did:webIssuer DID in Issuer → Settings to unlock issuer functionality. - Partner ID and Issuer DID — Partner ID from the Developer Dashboard (Accounts → General). Your Issuer DID comes from your issuer host; AIR does not generate it for you.
- Issuance program — A published credential program in the dashboard (Issuer → Programs).
- JWKS endpoint — A public URL serving your public key for JWT verification. See SDK authentication.
View issued credential records
You can review the records of every credential you have issued in the Developer Dashboard by going to Issuer -> Usage Records.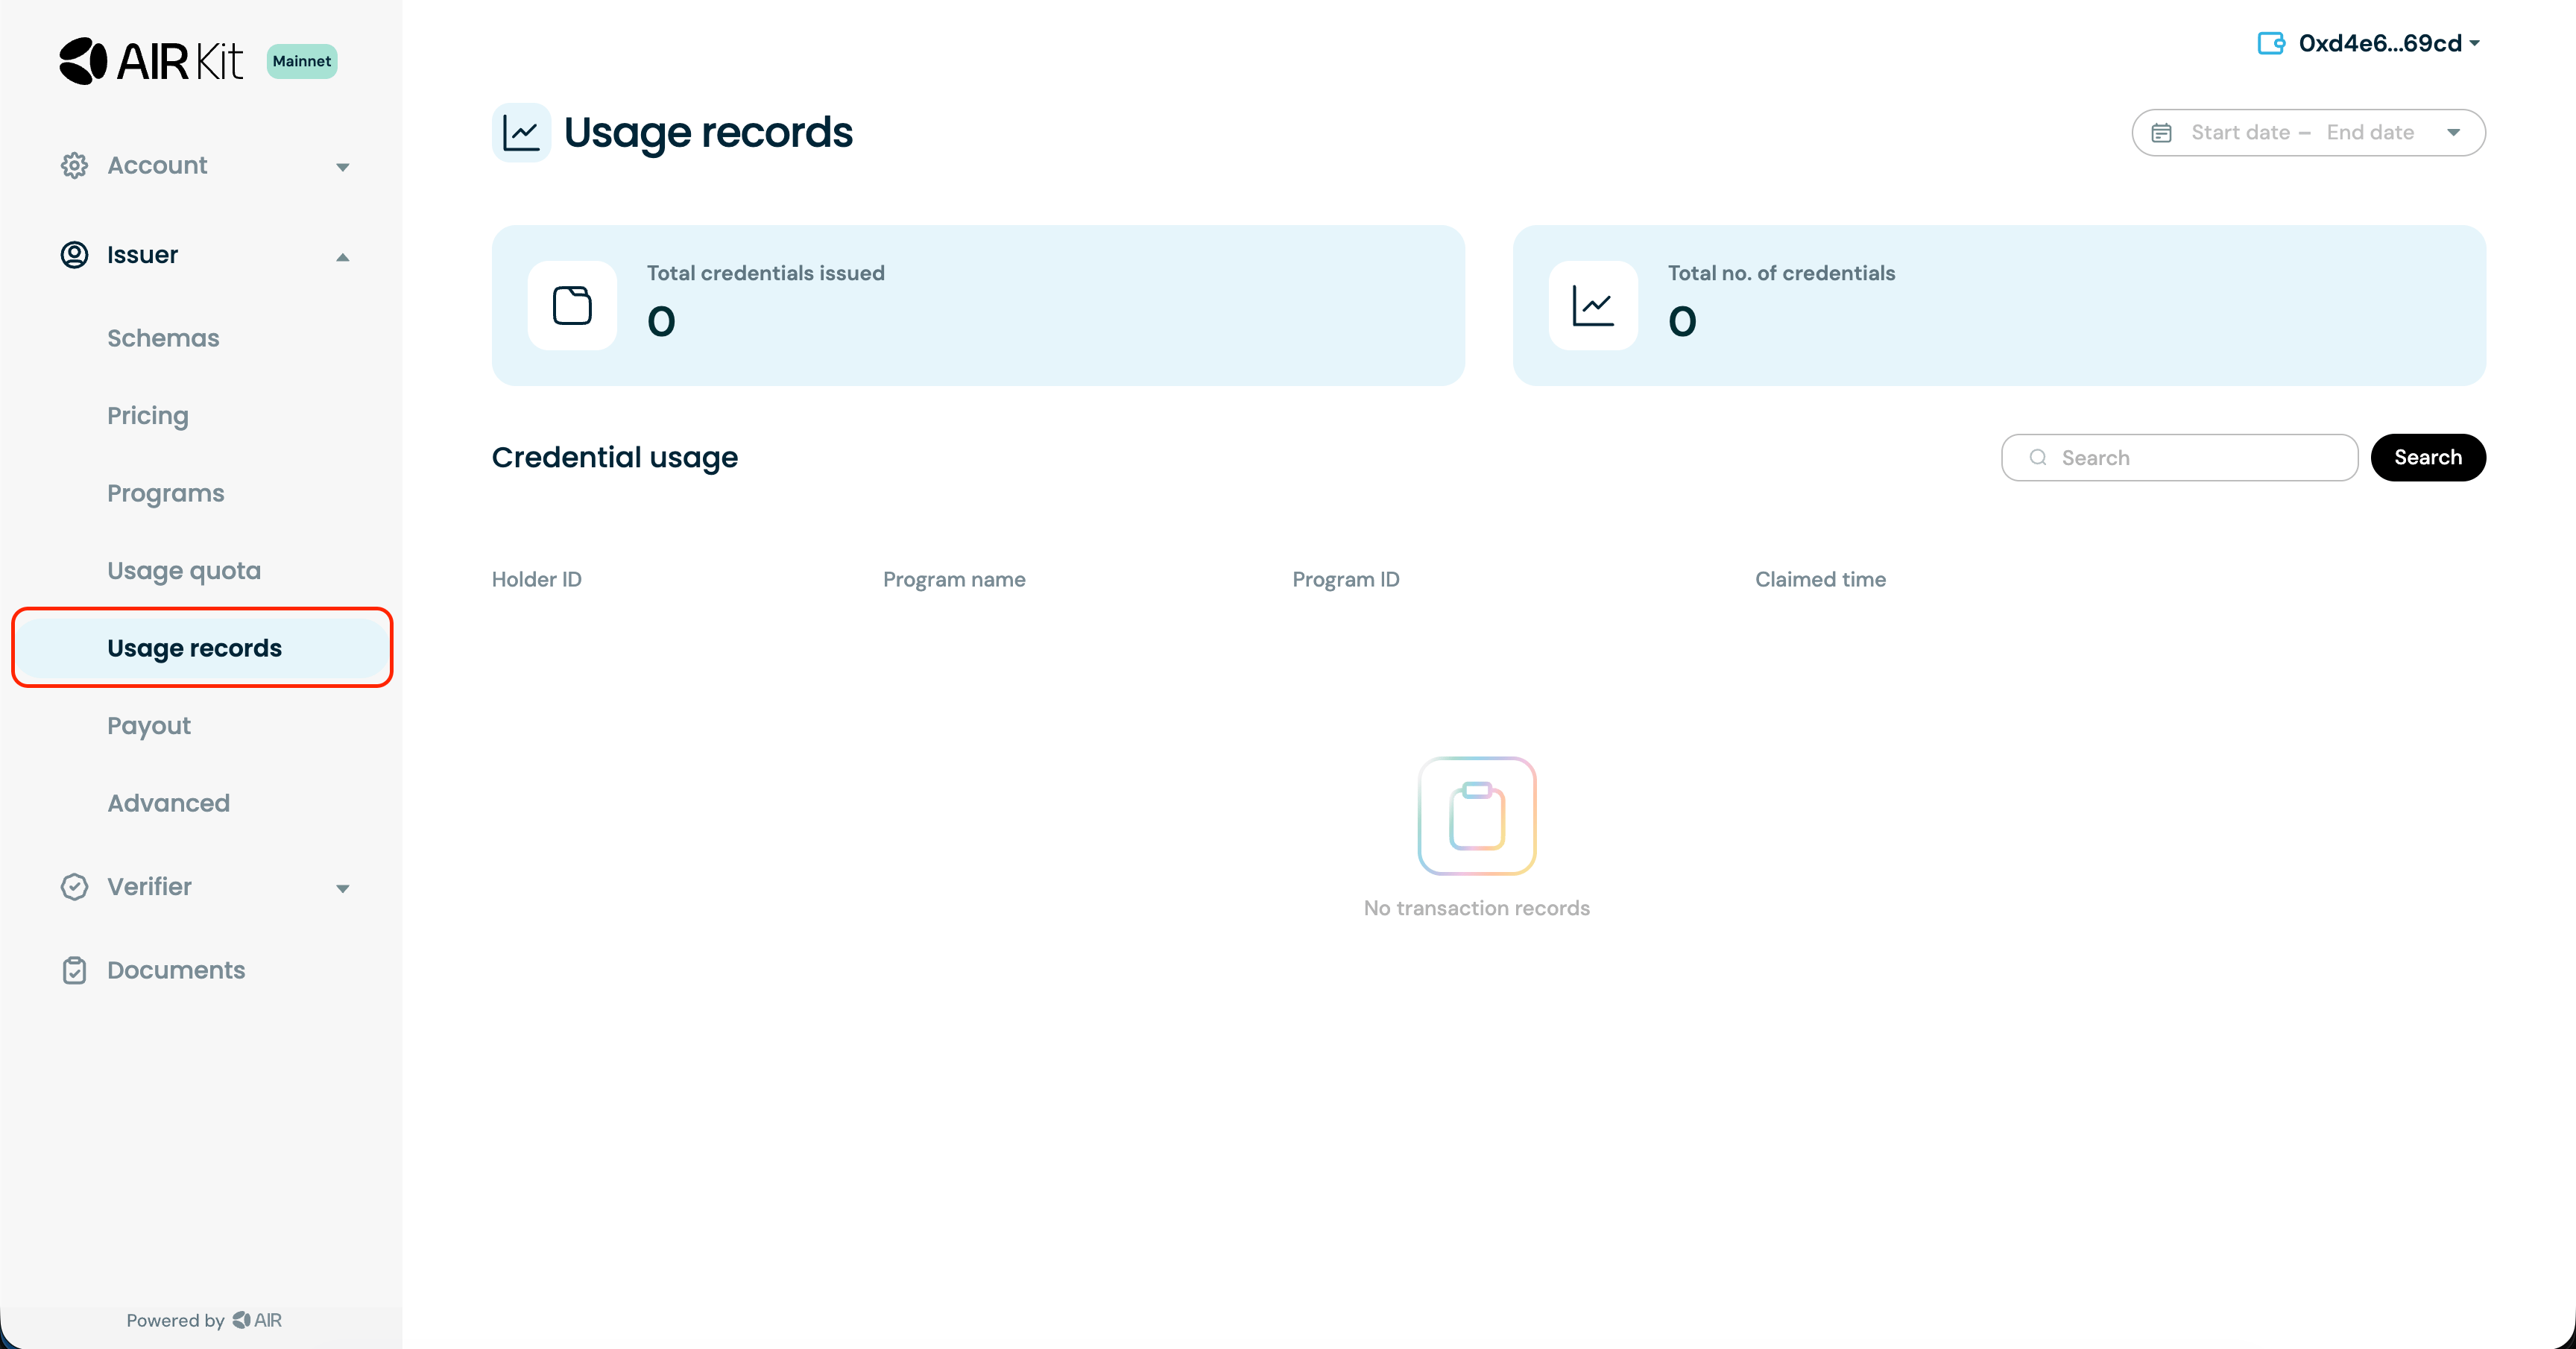
Issuer -> Usage Records in the Developer Dashboard
Best practices for issuers (SDK)
- Only issue credentials after thorough validation of submitted evidence or claims.
- Keep source data and signing keys under issuer control; never expose plaintext user data to AIR.
- Minimize personally identifiable information — issue privacy-preserving credentials whenever possible.
- Adopt open, standardized schemas to maximize compatibility across apps.
- Implement robust expiry and revocation processes, and keep holders and verifiers informed of credential status.
- Treat bulk imports as an operational process for large backfills, not the default integration path.