
Before you start
- An AIR Developer Dashboard account and Partner ID
- A web app running in the browser, with its origin added in Account → Domains
- A supported Node.js version for your framework and AIR Kit
Step 1: Install the SDK
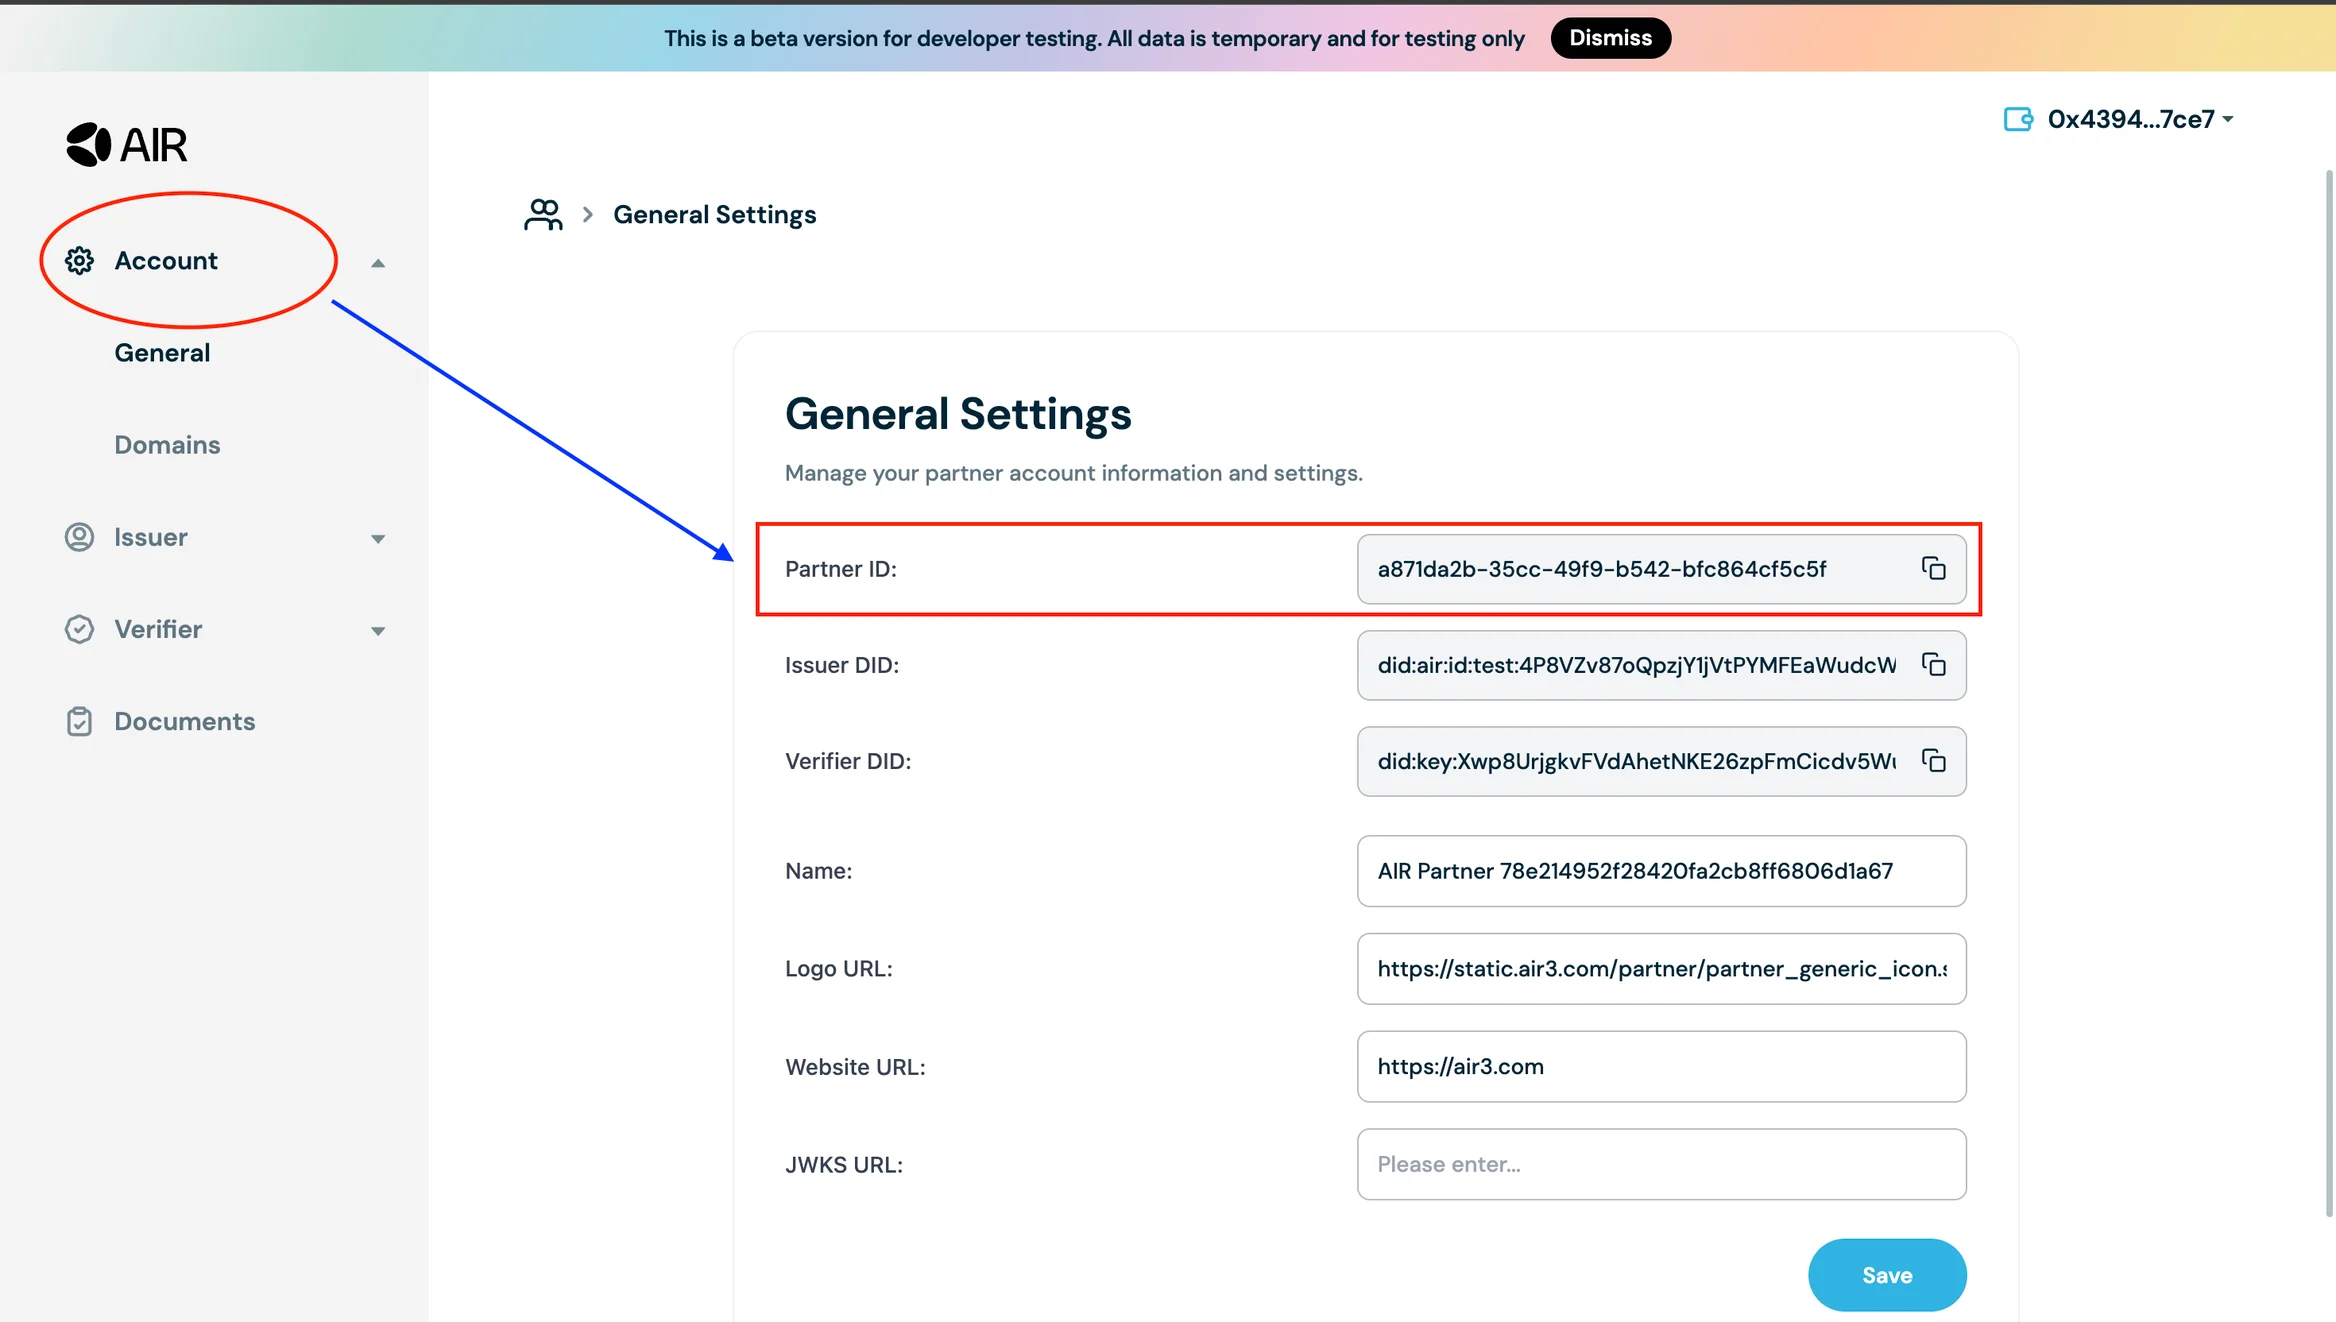
Step 2: Get your Partner ID
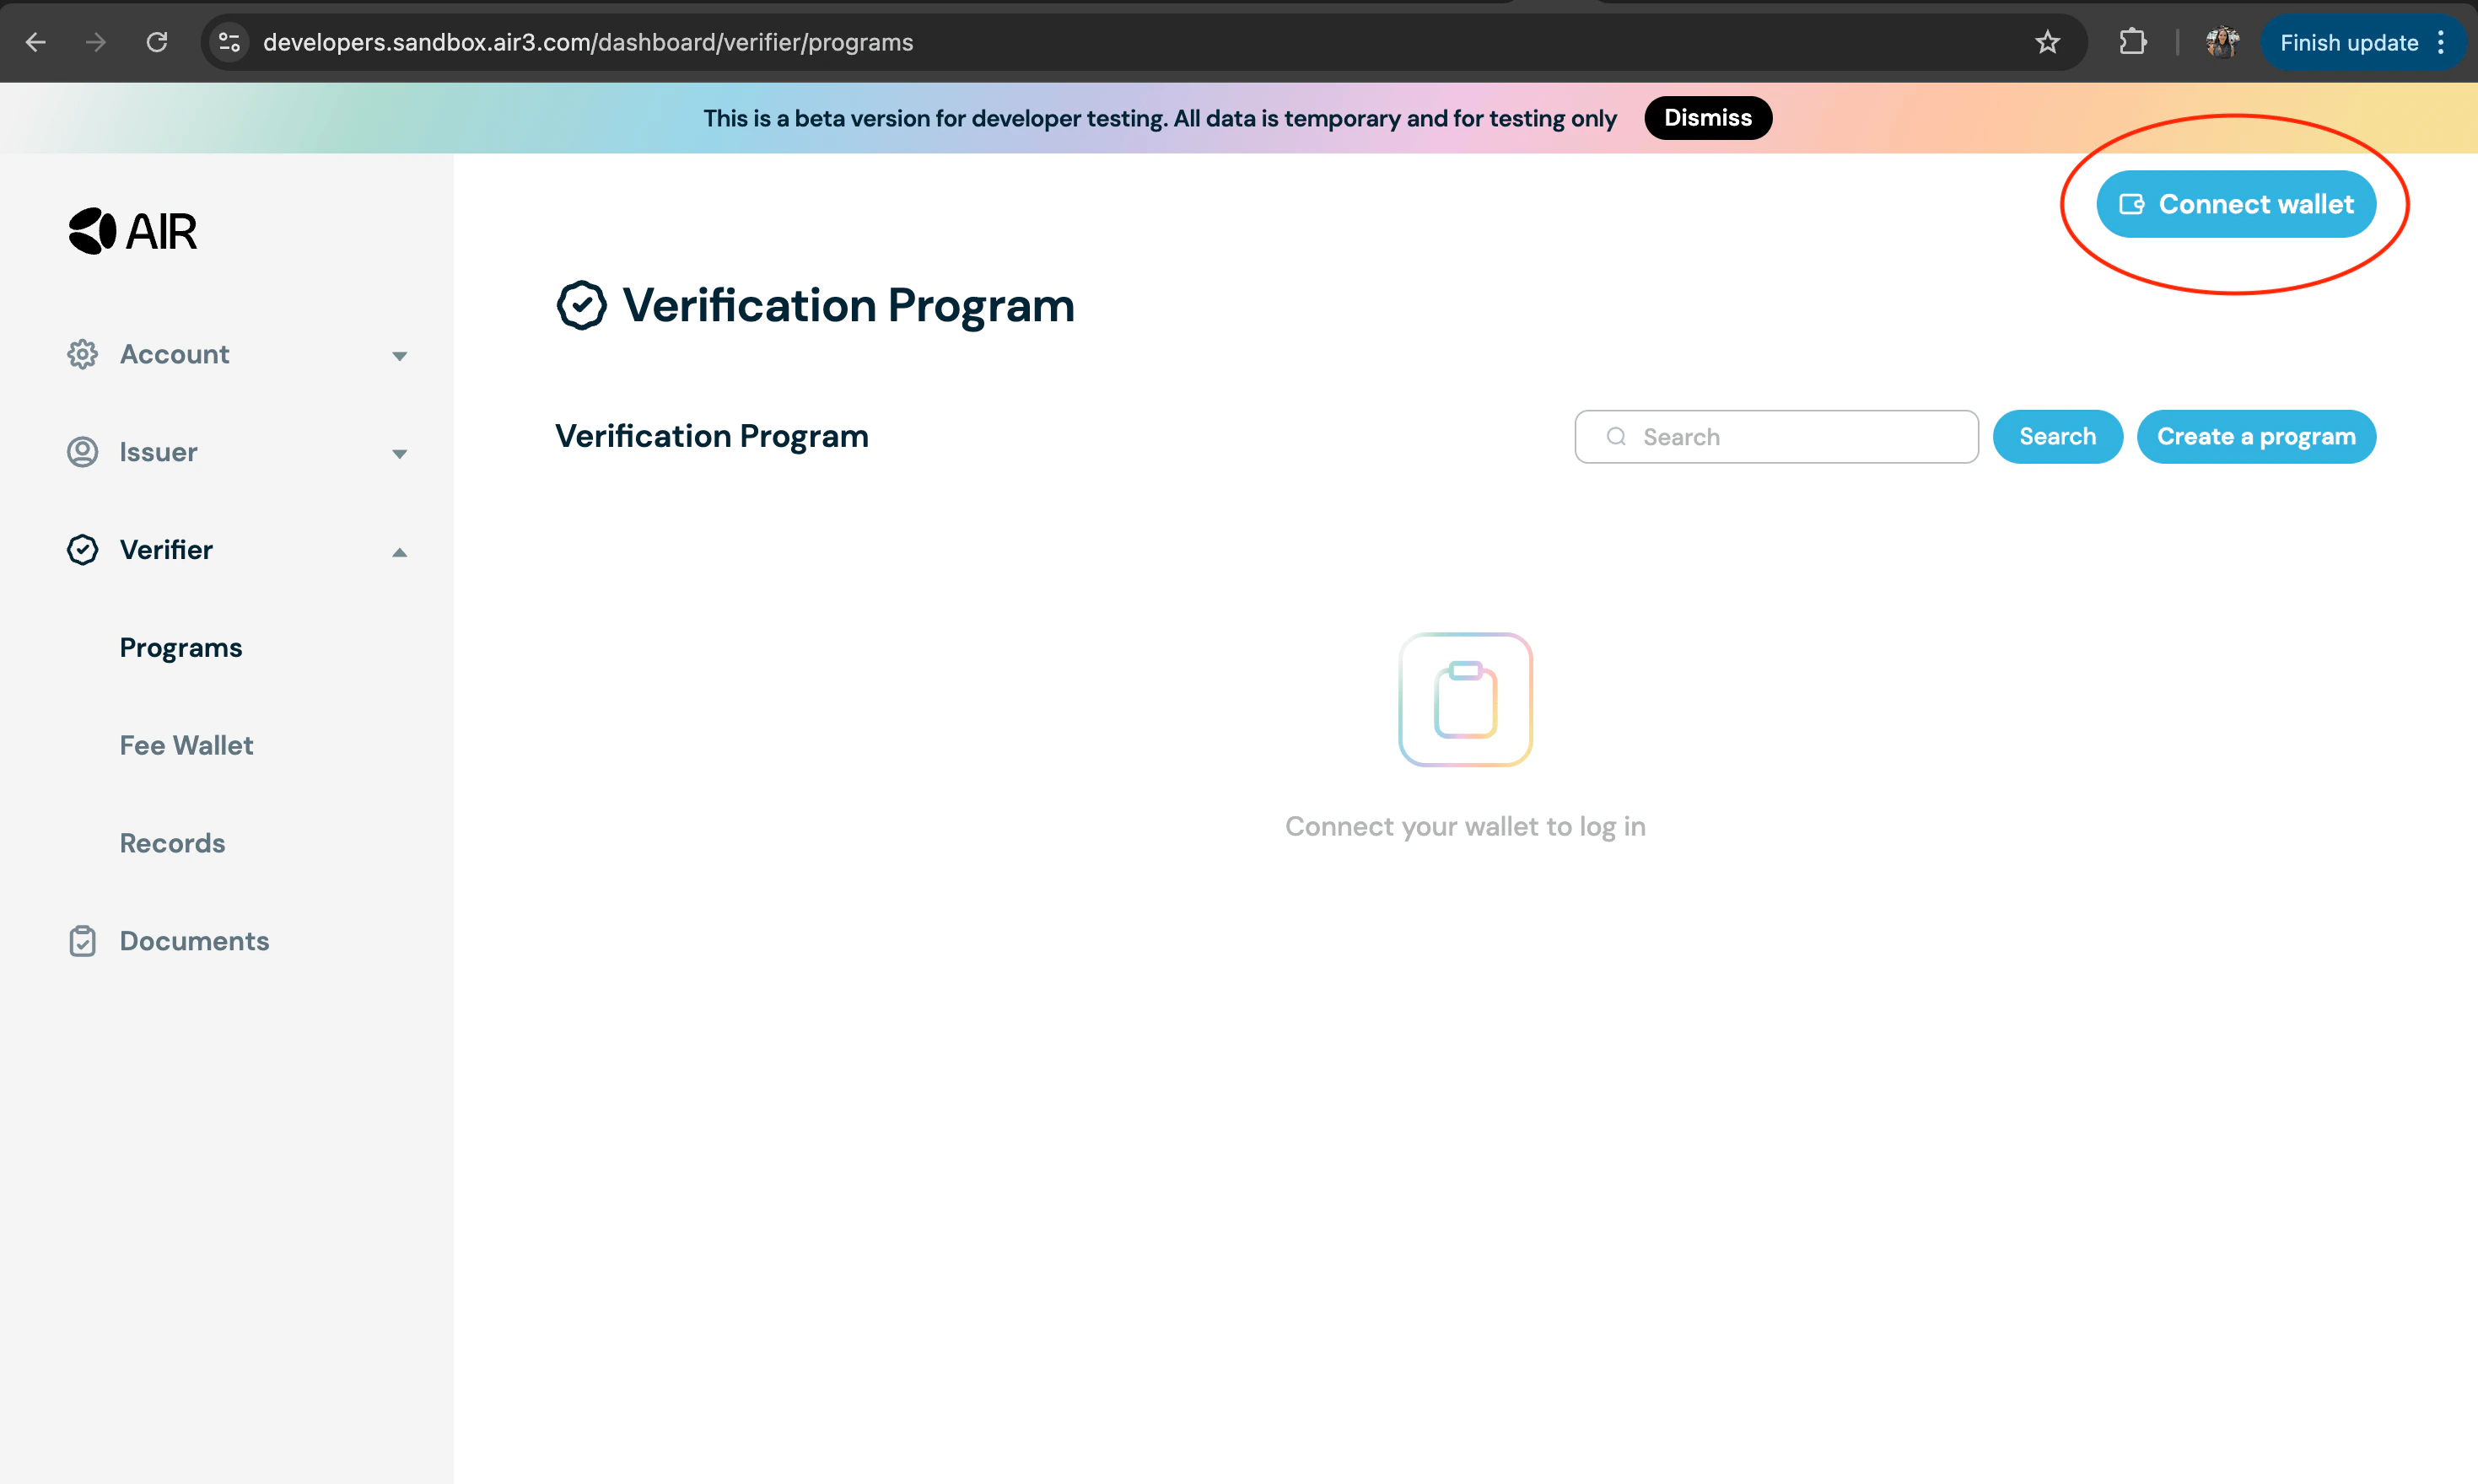
- Go to the Developer Dashboard and sign in by connecting your EVM wallet.
- Open Account → General Settings and copy your Partner ID.
Step 3: Initialize and log in
Create the service once in browser code. CallloginToAir() from a user action,
such as a login button; do not run this helper during server rendering.
- Initialize the
AirServicewithin the sandbox environment - Present the SSO Login screen of AIR Kit for users to log in
- Handle authentication and session setup
- Establish the user session used by Account Services and subsequent credential flows
Session lifecycle
Useservice.isLoggedIn to check the current session. To sign the user out, call:
Next steps
- Issuing your first credential and Verifying your first credential, if your app needs credentials
- Smart accounts, to use the user’s embedded wallet
- Customization options, to change the theme, login methods, and language